Last Updated on May 5, 2025 by Jim C.
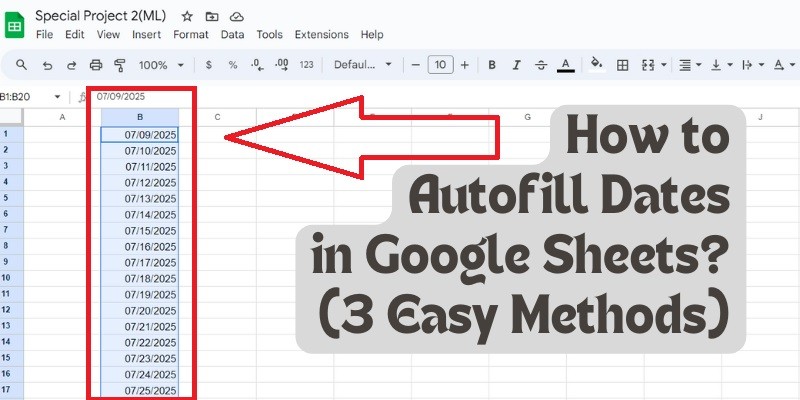
Autofilling dates in Google Sheets can streamline your workflow, especially when dealing with extensive data entries. Whether you need to create a series of consecutive dates, fill in dates based on specific intervals, or generate a custom date range, Google Sheets offers several methods to achieve this efficiently. This guide will walk you through the steps to autofill dates using different techniques, ensuring you can choose the best method for your needs.
Methods to Autofill Dates in Google Sheets
1. Using the Fill Handle
The fill handle is a quick and easy way to autofill dates in Google Sheets.
- Enter the Starting Date: Type the starting date in a cell (e.g., A1).
- Select the Cell: Click on the cell containing the starting date.
- Drag the Fill Handle: Hover over the bottom-right corner of the cell until you see a small square (the fill handle). Click and drag the fill handle down or across to fill the cells with consecutive dates.
2. Using Custom Formulas
For more control over the date sequence, you can use custom formulas.
- Enter the Starting Date: Type the starting date in a cell (e.g., A1).
- Enter the Formula: In the next cell (e.g., A2), enter the formula
=A1+1to add one day to the previous date. - Copy the Formula: Drag the fill handle from the cell with the formula down or across to apply the formula to other cells.
3. Using the SEQUENCE Function
The SEQUENCE function is ideal for generating a range of dates automatically.
- Select the Starting Cell: Click on the cell where you want the date sequence to start (e.g., A1).
- Enter the SEQUENCE Formula: Type the formula
=SEQUENCE(number_of_rows, number_of_columns, start_date, step)where:number_of_rowsis the number of rows you want to fill.number_of_columnsis the number of columns you want to fill.start_dateis the starting date.stepis the interval between dates (e.g., 1 for daily, 7 for weekly).
For example, =SEQUENCE(10, 1, DATE(2024, 1, 1), 1) will generate a column of 10 consecutive dates starting from January 1, 2024.
Conclusion
Autofilling dates in Google Sheets can significantly enhance your productivity by reducing manual data entry and minimizing errors. Whether you use the fill handle for quick tasks, custom formulas for specific intervals, or the SEQUENCE function for more complex date ranges, Google Sheets provides versatile options to suit your needs. Experiment with these methods to find the one that best fits your workflow.
Pro Tips
- Use Keyboard Shortcuts: Press
Ctrl+Enterto quickly fill selected cells with the same date. - Custom Date Formats: Customize date formats by selecting Format > Number > More Formats > More date and time formats.
- Combine with Other Functions: Combine date autofill with other functions like
WORKDAYto exclude weekends and holidays.
FAQs
1. How do I autofill dates excluding weekends in Google Sheets?
Use the WORKDAY function. For example, =WORKDAY(start_date, number_of_days) will autofill dates excluding weekends.
2. Can I autofill dates with a specific interval, like every other day?
Yes, use the formula =A1+2 to autofill dates every other day, where A1 is the starting date.
3. How do I autofill dates in a custom format?
First, autofill the dates using any method. Then, select the cells, go to Format > Number > More Formats > More date and time formats, and choose your desired format.
4. Is it possible to autofill dates horizontally across columns?
Yes, you can drag the fill handle horizontally across columns to autofill dates.
5. How do I create a dynamic date range that updates automatically?
Use the TODAY function in combination with the SEQUENCE function. For example, =SEQUENCE(10, 1, TODAY(), 1) will create a dynamic date range starting from today.

